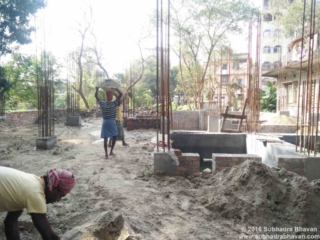
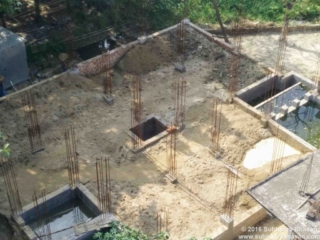
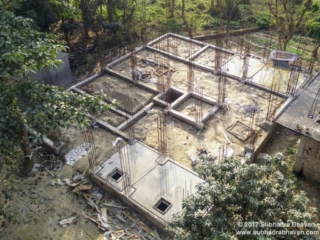
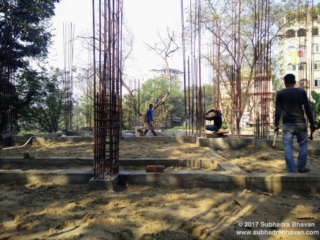
The construction of Pile Caps needs as much skill as the construction of Deep Pile Foundation. It is the portion of foundation that takes the load of the entire building and transfers it to the 96 piles under the ground. Following are the steps of construction of Pile Caps
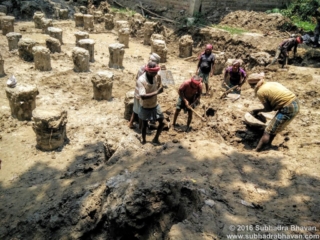
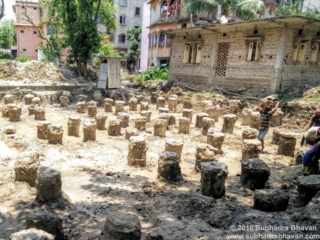
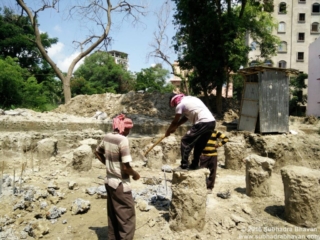
1. Earthwork (removal of top portion of ground) was done to expose the top 1 meter of every pile. This process took more than a week and great care was taken so as not to hit the concrete of the piles while doing the earthwork.
More Pictures of Earthwork (Cutting) & Pile Breaking
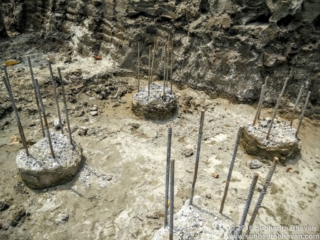
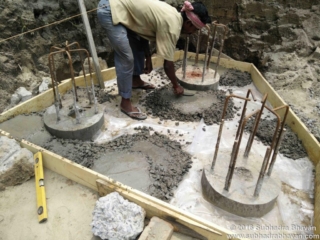
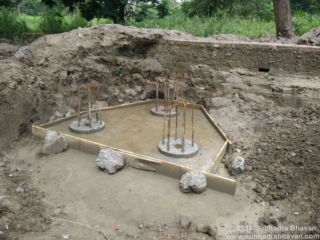
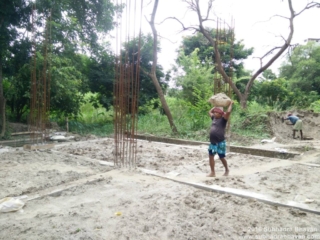
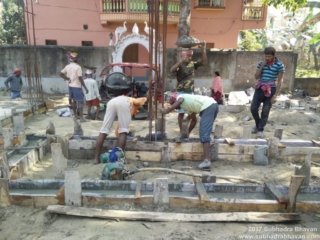
3.PCC Casting of 100mm was done as a connector between the ground and Pile-caps. 50mm of concrete is casted from the top portion of the piles, and they protrude from the surface of the PCC. There was a thick polythene placed below the PCC, to prevent any damping that might occur on the ground floor in 10-20 years. Proper measurement was also done to make sure that the PCC and the top of each and every pile was at the same horizontal level. The top portion of the rods was bent into an L-shape.
More Pictures of PCC Casting for Pile-Caps
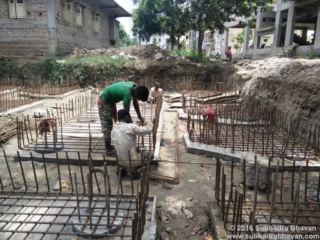
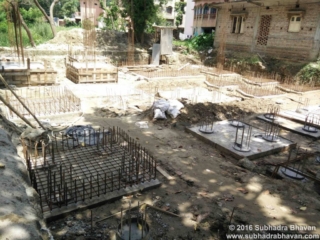
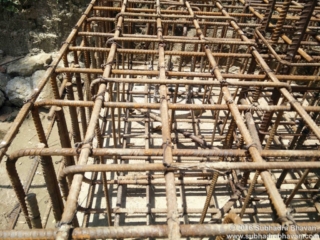
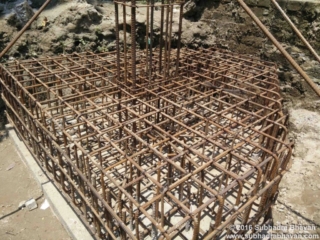
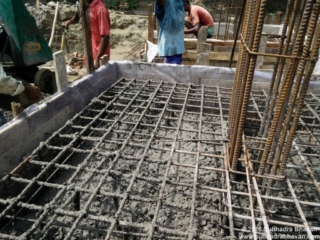
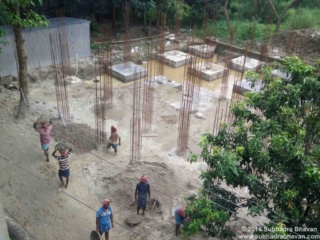
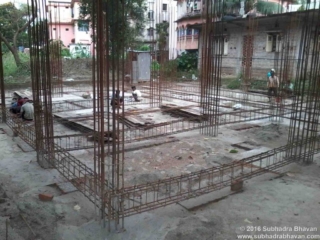
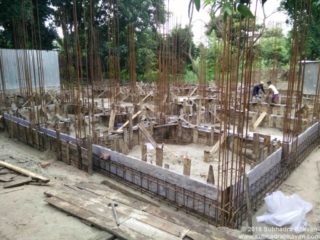
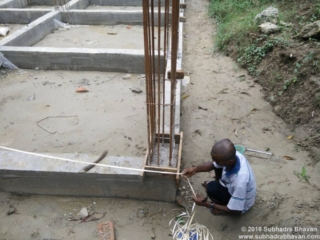
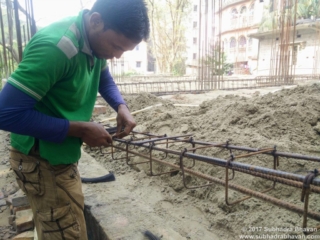
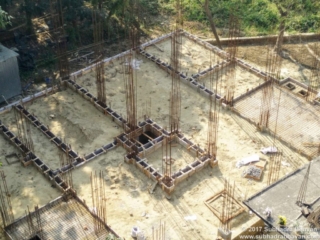
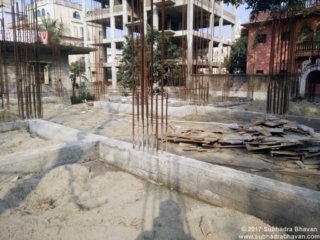
4. Rod binding for Pile Caps was done with extreme precision according to the structural drawing to make pile-cap reinforcements and no compromise was made on the quantity of Steel Bars. This was the major time consuming procedure that took the most effort and a great number of labors. The vertical reinforcements of columns were placed as per the structural drawing.
More Pictures of Pile-Cap Reinforcements
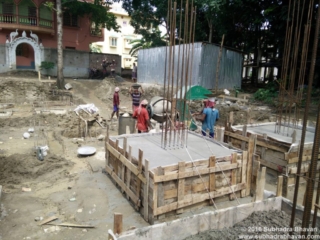
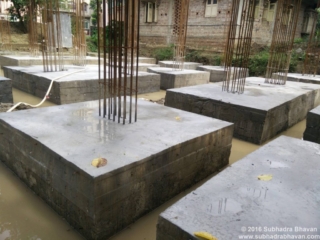
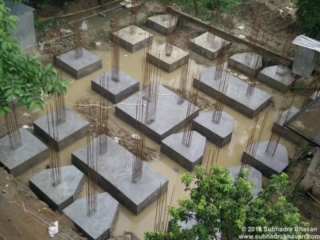
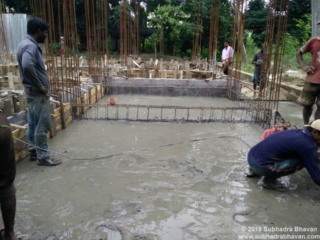
5. Shuttering for Pile Caps was done, followed by concrete casting. The process was completed in groups with around 6-7 Pile Caps being casted on the same day. The total duration of construction of Pile Caps was 2 months, with 5 days reserved for concrete casting. We made sure to water the concrete (curing) continuously till sand-filling was completed.
More Pictures of Concrete Casting of Pile Caps
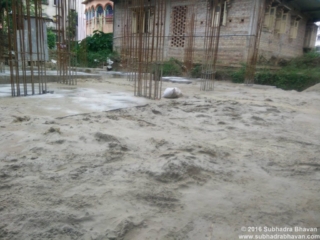
6. Sand-filling was done with silver sand to fill up the spaces between the concrete structures till the level of Pile-Caps. Silver sand has the capability to occupy 100% of the spaces and hold itself tightly at the foundation. There was water upto a level 200mm and the sand was poured into it. Later it was watered after filling was completed. This was done so that the sand strengthens itself at the foundation as much as possible.
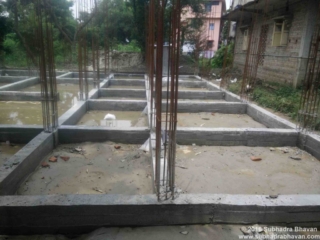
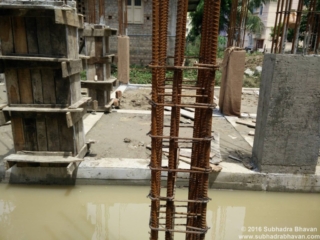
7. The reinforcements for tie-beams were made with Steel bars as per the structural drawing. Shuttering was done and then tie-beams were casted. The dimensions of tie-beams were 500mm x 250mm. Concrete construction of the base of septic tank was done separately and 12mm Steel bars were used for it. The septic tank will be located on the North-West part of the plot as per design.
More Pictures of Foundation Tie-Beam
8. After the construction of Tie-Beams, another round of sand-filling was done till the level of Tie-Beams. The entire plot was re-measured and column starters (50 mm base of concrete) were made. The stirrups of the column reinforcements were placed according to the structural design. Then, concrete casting of all columns was done upto the Plinth Level which is 4.5 feet above the level of front road.
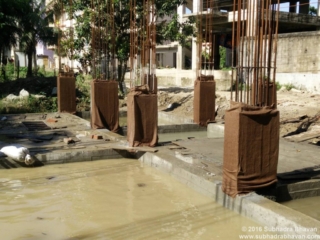
Curing (watering) of columns was done in a special way. The columns were covered with jute and then cured, so that the retention capacity was increased, and the concrete could absorb the maximum amount of water. Curing was done regularly to make sure the columns were continuously wet for at least 28 days.
More Pictures of Plinth Columns
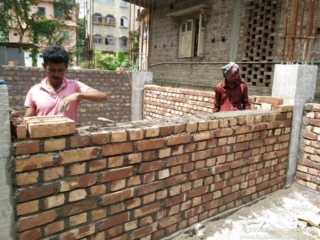
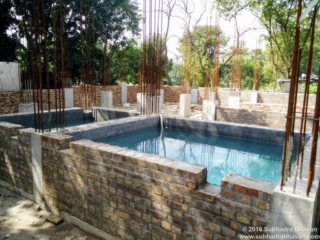
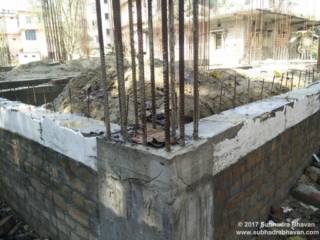
9. After the construction of 4.5 feet columns, 10 inches (250mm) brick walls were constructed on the periphery of plinth, as the base of elevator walls and as the base for staircase. The Underground Reservoir (UGR), Fire-Safety Tank and Septic Tank were constructed with bricks and plastered inside using cement, sand and Cico No 1 (for water-resistant quality). The UGR is capable of holding more than 20,000 litres of water.
More Pictures of Brickwork at Plinth
10. After the masonry walls at plinth were constructed, the inside was filled with fine quality white (silver) sand, similar to what was done between the pile-caps. The sand was watered to compact it and fill the small air gaps completely.
More Pictures of Sand Filling till Plinth Level
11. Reinforcements were made for tie-beams at Plinth Level and for the concrete covers of Underground Reservoir and Septic Tank. They were then casted with M20 grade concrete. The beams ensure extra protection against seismic vibrations at the time of earthquakes.
More Pictures of Plinth Beams & Tank Covers
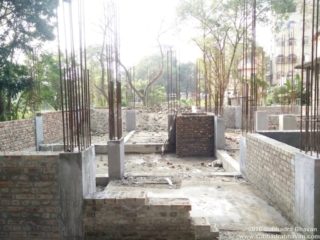
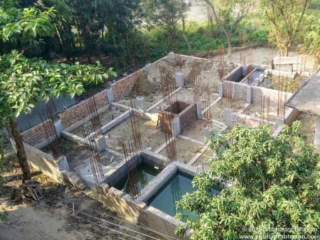
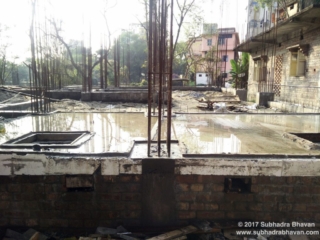
12. The pictures below show the site after construction till Plinth Level. The concrete at every step was cured for at least 28 days after casting to ensure it gains its maximum strength. We proceeded to the columns for ground floor after this.
<<< PREV: DEEP PILE FOUNDATION
